How to start an allotment from scratch

There is a lot to take in when you receive the 'keys' to an allotment. It may have been lovingly taken care of right up to handover, or more likely, has been left to mother nature for 6 months or more. We are here to help, maybe not with the digging :) but certainly with advice and support to help you on your way to a very productive allotment.
This guide is intended for those who have already decided to take on an allotment or have just received the keys.
We've broken up this guide in to 6 simple steps. Each covers the key things that you need to consider:
- Assess the situation
- Plan your plot layout
- Gather the tools/items you need
- Get clearing / digging (and feeding your soil)
- Get Growing!!!
Step 1: Assess the situation
The key point here is to make things simple and find ways to save your time. You shouldn't skip this step and jump straight to digging and planting (steps 4 & 5). If you do you will regret it later, as I did. I wasted time because the area I'd dug ended up as a path. I might as well have saved my back and sat and drank tea. So we suggest you do just that at first.
Your first job is to plan. Sit down, bring a notebook and a drink, and have a detailed look round the allotment keeping in mind the following:
What have you inherited?

Look at the existing features:
- How much space do you have (it's a good idea to measure it).
- How have the previous tenants laid it out?
- Have they left you any sheds/compost bins, fruit trees / bushes, or existing beds that you can make use of?
- Has it been used as a rubbish dump (how are you going to get rid of it - usually the council/landowner/association will help to dispose of it if you gather it up)
If the plot is already laid out with pre-defined clear beds, even if they are not laid out as you like, they are a blessing. You can make use of them to get growing and they'll allow more time to convert the place to your own layout. I also predict, if there are predefined/clear beds the previous tenant has looked after the soil and your digging and weeding job will be much easier.
How does the sun move across the allotment
Another important step is to work out how the sun moves across the plot. It is usually best to plant out rows in a north-south orientation as this maximises the sun plants get though out the day. Are there any large trees / buildings shading any parts of you allotment? Are there any sunny spots against a wall etc where you might be able to plant heat loving crops (cucumbers, chillis, tomatos etc)?
What is your situation ?
As well as assessing your new plot you also need to have a good think about how much time you can devote to your allotment in future. This and your physical capabilities are going to be important factors in deciding what kind of allotment you'd like. For instance, if you don't think you'll physically be able to dig over or barrow on a tonne of compost/manure to the beds each year you should consider installing raised beds. These tend to require less physical exertion and are easier to maintain (after the initial setup that is).
You should also keep in mind your financial situation too. Raised beds come with an initial cost (unless your new allotment already has them). By far the cheapest option is to use the traditional method as it requires only time and physical effort.
Step 2: Plan your plot layout
Once you've spent time on the plot just exploring what you're inherited you will be in a better position to make the right decisions during this step. This the possibly the most important step and we're not just saying that because we have an allotment planning software tool. The decisions you make now will make a huge difference in future. If made well, with forethought, could save you time in future.
Because there is so much to consider during this step we are preparing a separate guide, but as a summary here are the key elements:
- Decide what style of vegetable beds you'd like
- Decide what size of beds you'd like.
- Make sure you include space for sheds / greenhouses / compost bins / water butts etc.
- Make sure you consider where you'll place trees, fruiting bushes, and other perennial (stay in the in the ground year on year) plants.
- Draw out your plot on paper or use our free allotment planning software to design your allotment layout
Step 3: Gather the tools/items you need
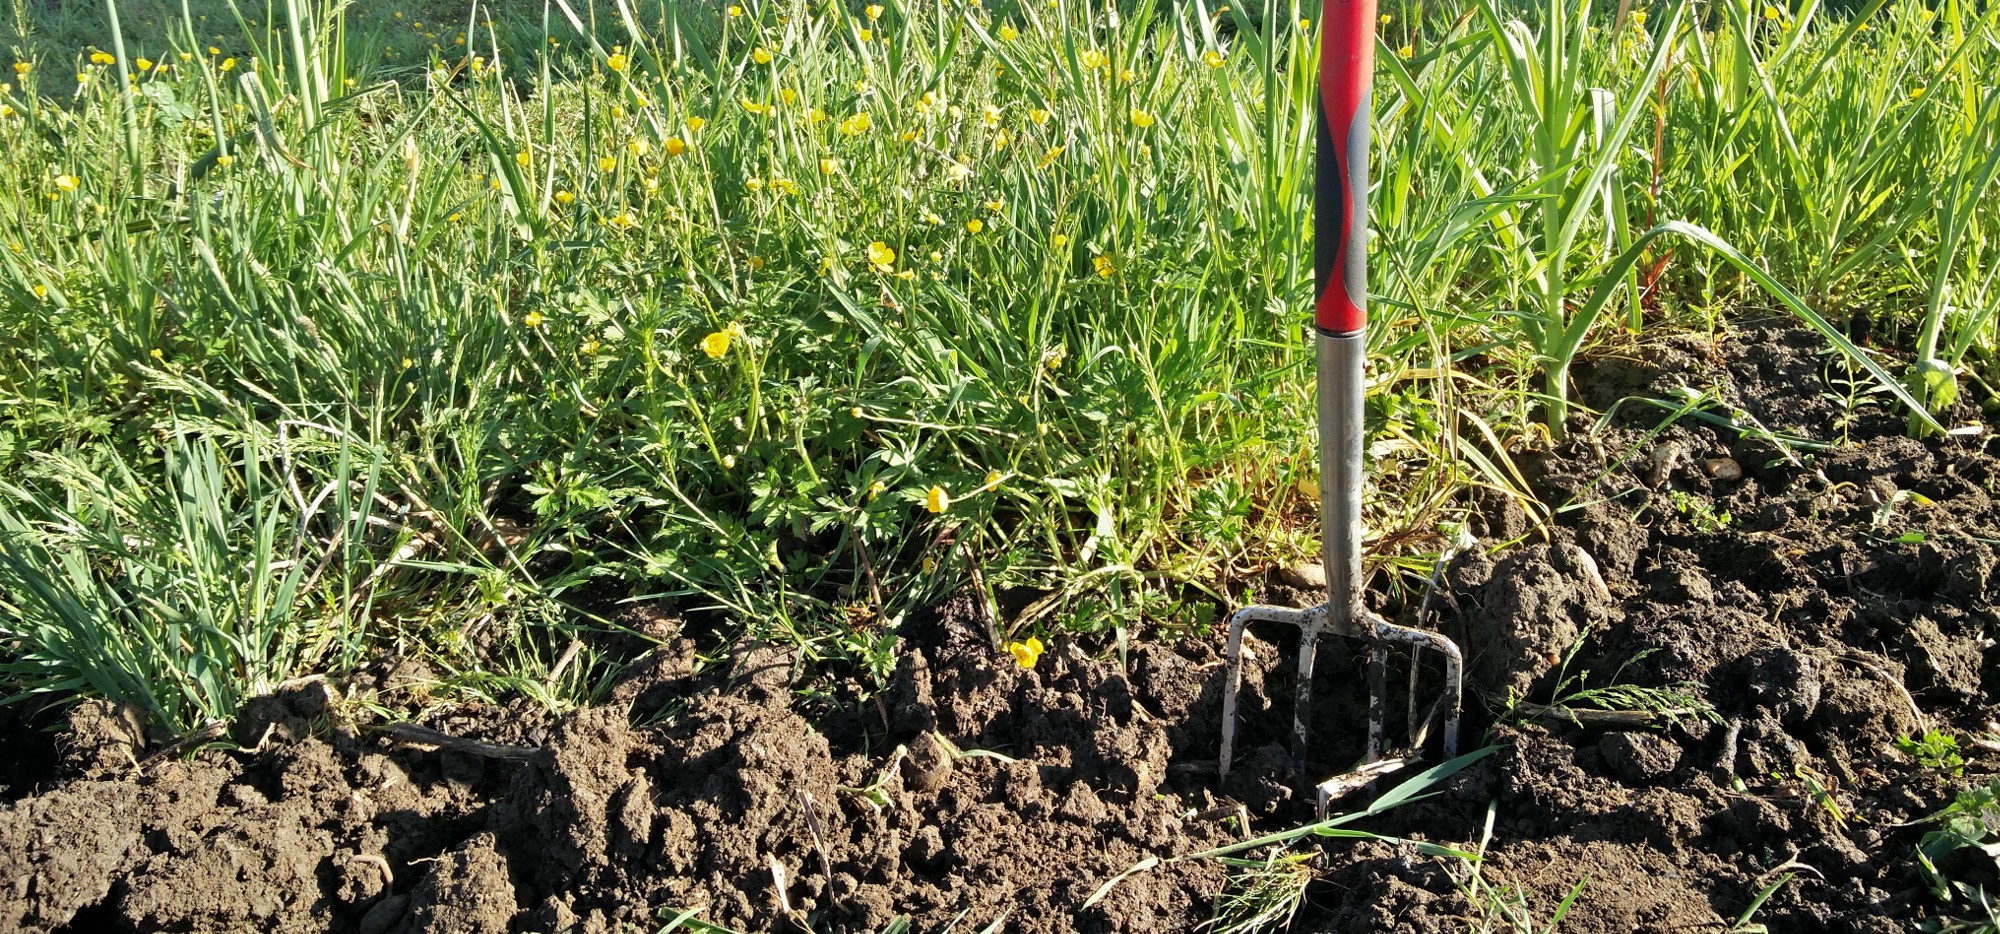
The minimum for any allotment is a digging fork, digging spade and a sharp hoe. I'd also include a wheel barrow if you can afford one but not essential. That is all the tools you need, the rest are optional but could make life easier for you.
Step 4: Get clearing / digging (and feeding your soil)

Now we get to the good part! The part you've been dreaming about since you decided to get an allotment. Now this dream may have left you in a cold sweat or you may have been looking forward to all that digging, either way it'll be an exciting time as it'll mark the start of making the place your own.
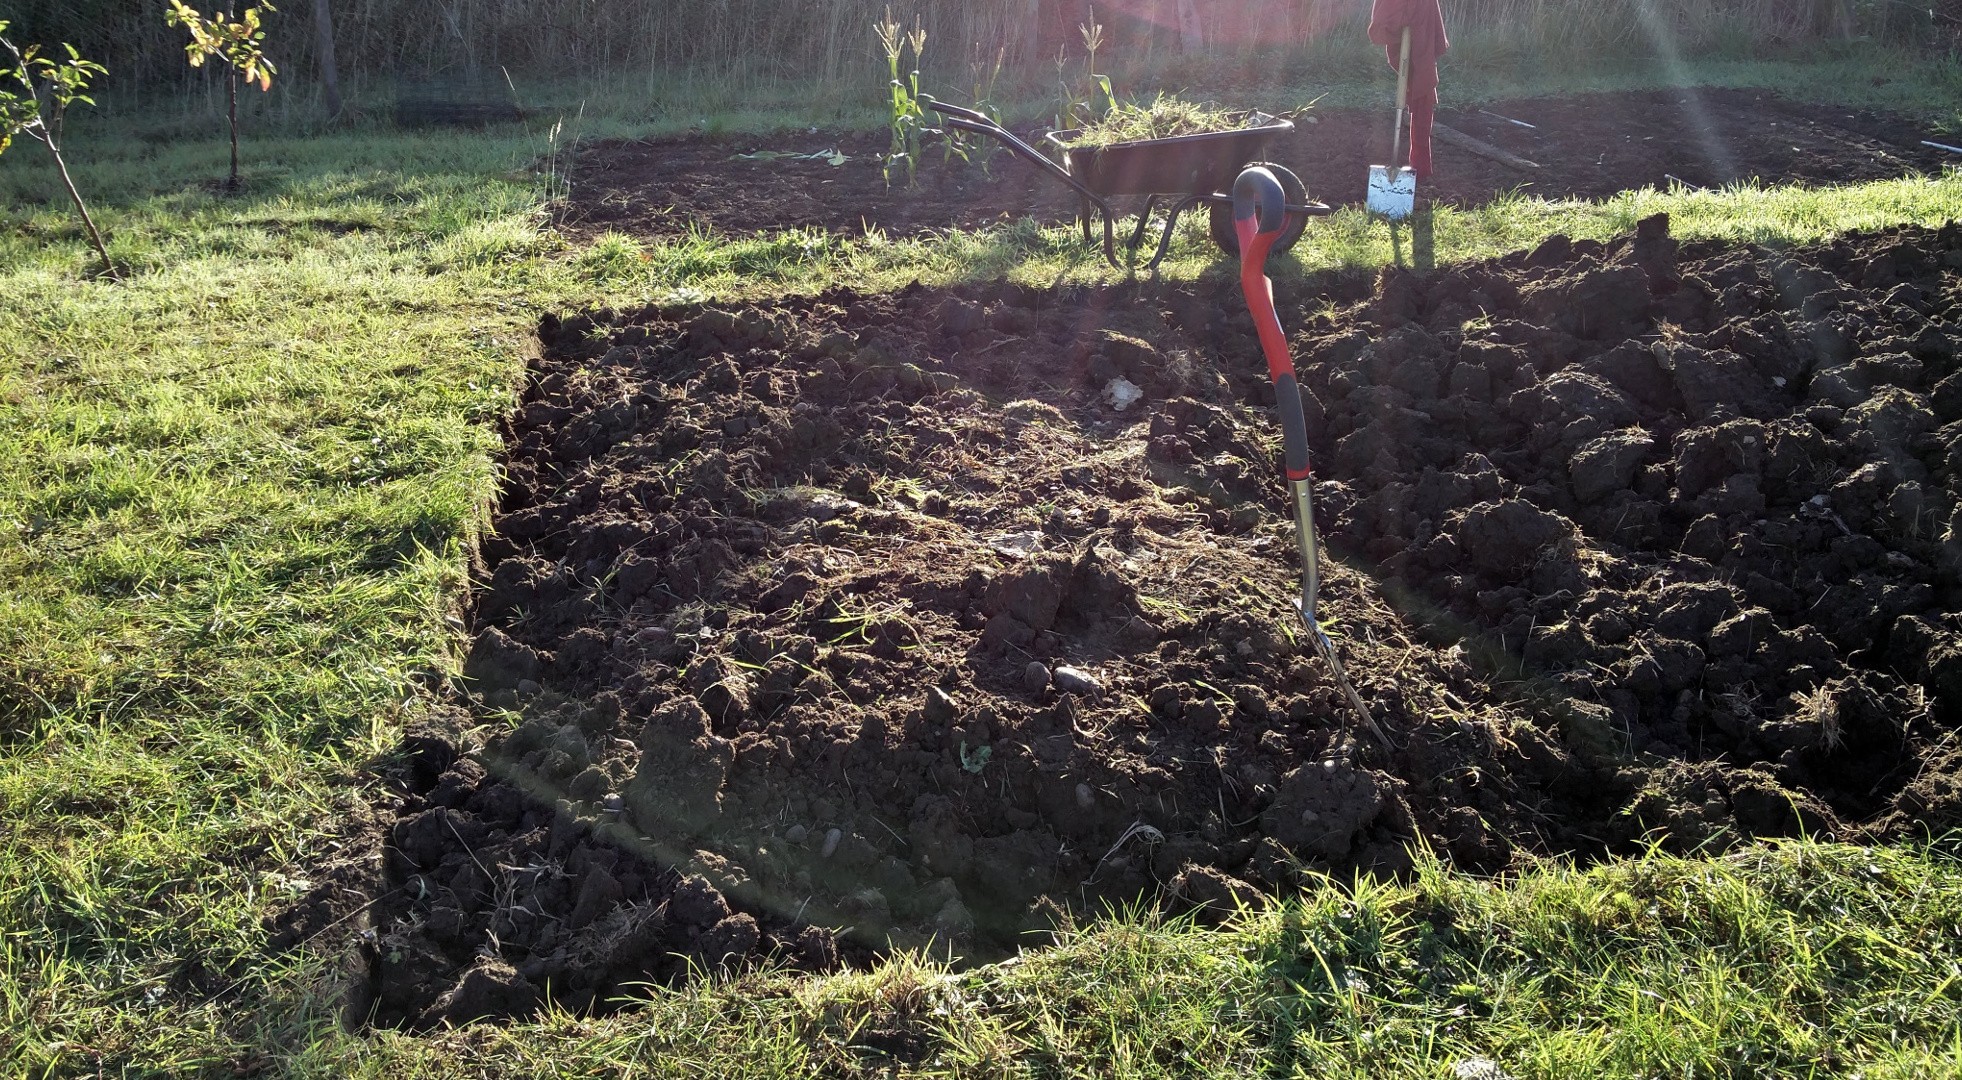
The steps to take when clearing the allotment and converting it to your layout will vary depending on the approach / style you've chosen. The following guides provide more information on preparing the beds in each approach.
When digging or preparing your allotment in any of these styles it is important to look after yourself. With the excitement of your new allotment it is easy to get carried away. You are probably not used to using the muscles required to dig over the soil or lug a wheel barrow back and forth. Take your time: the pyramids were not built in a day. Do small sections but do them often and you'll soon have the place sorted.
Step 5: Get Growing!!!
This step can start as soon as you have cleared your first bed and dependent on the season there is usually something that you can put in the ground to get you started.
Good luck and enjoy


